Mavim Manager gives you the option to create a custom view that suits your needs. This will allow you to select which screens are visible and where they are placed. Making changes to the User Interface is detailed below.
Moving Screens:
Each panel within the user interface can be moved around and docked to a specific part of the Mavim Manager window. It is also possible to have a panel floating within the Manager window.
- In the Mavim Manager user interface, left-click and hold the title of the panel you want to move and begin to drag it. It will become a floating panel:
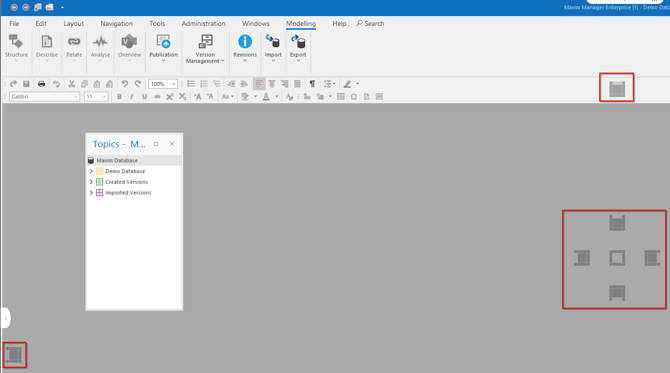
Notice the controls highlighted in the red boxes. If you drag the panel over one of these controls you will see a blue highlight of where the panel will be placed: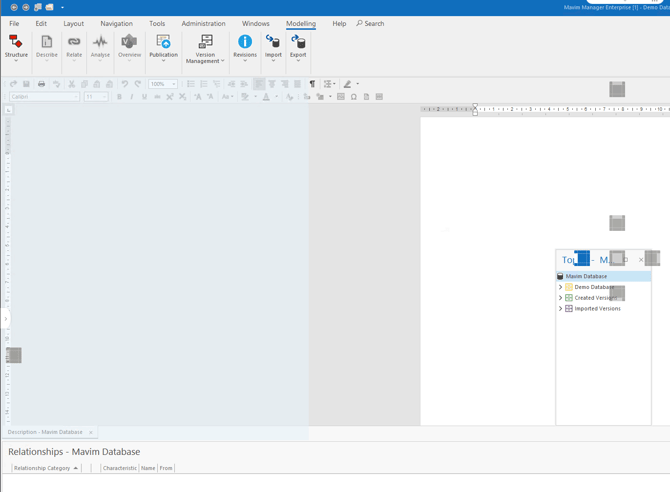
- Select the location for the panel or if so desired, leave the panel floating in a location within the boundaries of the Mavim Manager window.
- Repeat this process for each panel as needed.
Saving as Custom View:
Once you have positioned all the panels in the location you want:- Select Layout > View > Save as Custom View.
The lay-out will now be saved as Custom View.
This can now be tested:
- Select Layout > View > Basic View.
The view should change to the basic view layout. - Select Layout > View > Custom View.
The layout should now return to the layout you configured and saved as Custom View.
Import Notes:
- Not only the window lay-out but also the view options of each independent window and the content, placement of the selected toolbars is saved to the Custom View.
- When a new Custom View is saved, the previously saved Custom View is overwritten.
- The default views (Basic View and Advanced View) have been designed to help workflow.