When a table has been inserted into the Descriptions screen, several settings can be changed with the Table Properties option:
- Align Table
- Set Row Height and Page Break
- Set Column Width
- Set Cell Properties
Align Table
Tables in the Description screen can be aligned in several ways:
- Place the cursor in the table.
- Select Table Properties in the context menu.
- The Table Properties window appears with the Table tab open:
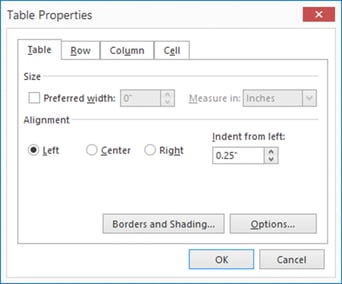
- In the Size section, you can adjust your preferred Width for the table. This can be either in inches or as a percentage of the description screen..
- In the Alignment section, choose whether you want to align the table to the left, centre or right of the Description screen.
- If you have selected Left, use Indent from left to indicate how many inches (see Options Description Screen) you want the table to be indented from the left margin.
Set Row Height and Page Break
You can set the height of table rows and how a row will handle page breaks, if a table is larger than a single page.
- Place the cursor in a row, or select several rows at once.
- Choose Table Properties in the context menu, or in the Table menu.
- The Table Properties window appears.
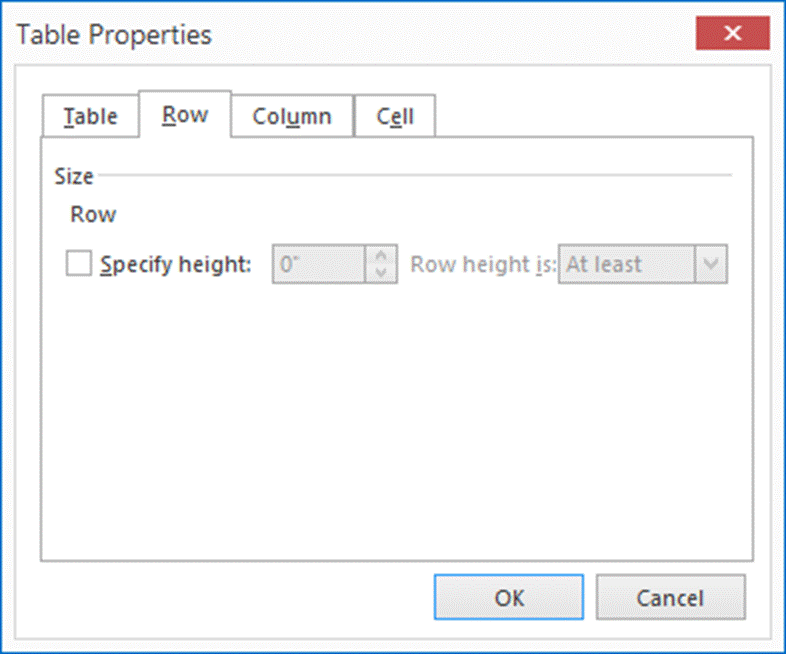
- Choose the Row tab.
- The Row tab allows you to specify the frame height:
Set Column Width
You can set the width of table columns.
- Place the cursor in a column or select several columns.
- Choose Table Properties from the right-click menu.
- The Table Properties window appears.
- Click the Column tab.
- The following window appears:
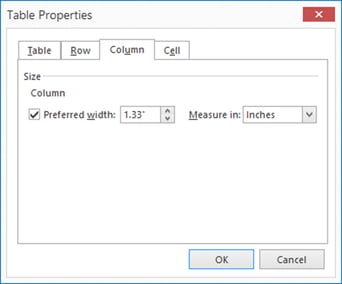
- Select the option Preferred Width and specify (in inches or as a percentage) the width for the selected column or columns.
Note:
- You can also set row height directly with the mouse: Select the bottom line of the row (the cursor symbol becomes a
 ) and drag it to the required height.
-
You can also directly adjust column width with your mouse. Select the vertical border of the column (cursor changes to
 ) and drag the border to the required width.