You can insert tables in the Description screen.
There are several options for creating and editing tables, columns, rows and cells:
- Insert Table
- Insert Column or Row
- Delete Cell, Column, Row or Table
- Select Cell, Column, Row or Table
- Merge and Split Cells
With the Table Properties option, the layout of the table can be set: Table Properties
If a table does not have borders, it can still be shown on the screen using Borders and Shading.
Insert Table
To add a table to the Description screen:
- Place the cursor at the position you want to insert the table (this is also possible within an existing table: embedded tables).
- Select the context menu Insert > Table.
- In the Insert Table window, set the number of rows and columns (you can also set borders and shading, see Set Cell Properties) and click OK:
Note: When inserting a table in the description screen, a maximum of 30 columns can be used. This must also be taken into account when importing a document from Word that also contains tables.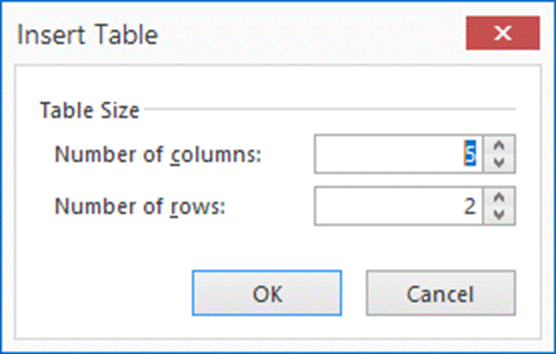
The table will be inserted.
Note:
- Please note that using tables is the preferred method of aligning text in columns and rows. Using tabs to align text can lead to undesired results when publishing your topics to a website.
-
By default, Gridlines should be on but if you are not able to see your newly inserted table, you can turn them on. See Borders and Shading.