Before you can make use of this feature, some configuration work needs to take place. If this function is not working as expected, please consult with your IT team to provide them with the following link:
https://knowledge.mavim.com/en/mavim-manager-sharepoint-import-and-export-configuration
A SharePoint list is exported as follows:
1. On the Modelling tab go to Export > SharePoint List...
The following window appears: 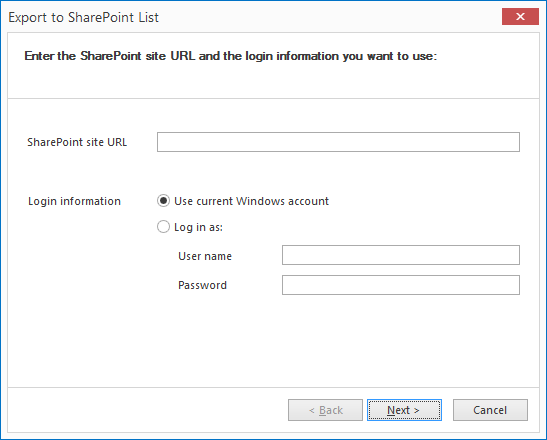
2. Enter the URL of the SharePoint Site to which you want to export the data. Additionally, you can choose to log in to the server with your current Windows account, or to log in with a different account.
Note: To export you must have access to an account on the SharePoint Server, as well as permission to write on the site to which this information will be published.
3. Click Next.
4. The following window appears: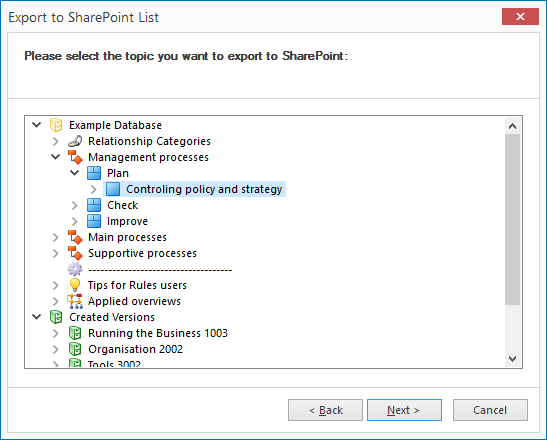
Navigate and select the topic you want to export to a SharePoint List. In this case, the subtopics will be exported in the SharePoint List.
Note: It is also possible to select a topic without subtopics. In this case, the topic can be added to an existing SharePoint List.
5. Click Next.
6. The following window appears: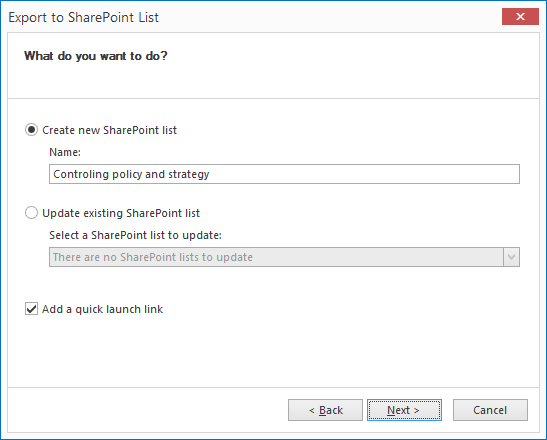
In this screen, you can specify the name of the Custom List that will be created in SharePoint and where the topics will be placed in or you can choose to update an existing list with new topics and columns.
7. Click Next.
8. The following window appears: 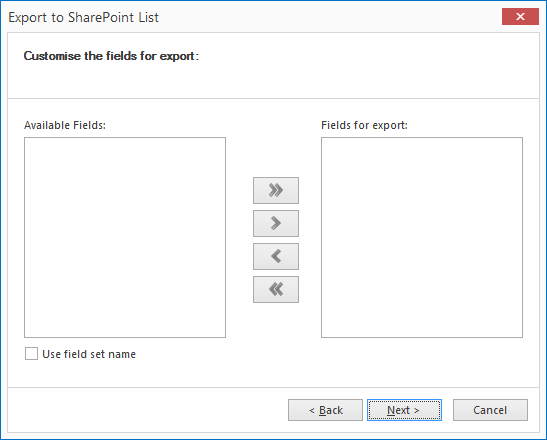
The left-hand box contains all of the fields of the list you want to export. By using the buttons in the middle, you can transfer the fields to the right-hand box. All fields in the right-hand box will be exported. These will be displayed as columns of the SharePoint list.
·  All properties will be transferred to the right-hand box.
·  The selected properties will be transferred to the right-hand box. By using the CTRL or SHIFT keys, you can select multiple properties at once. You can also select more by clicking and dragging with the mouse.
·  The selected properties will be removed from the right-hand box. By using the CTRL or SHIFT keys, you can select multiple properties at once. You can also select more by clicking and dragging with the mouse.
·  All properties will be removed from the right-hand box.
Note: Because field names do not have to be unique in Mavim there is an option to add the group name of the field set is included.
Check the Use field set name option when you want to add the name of the field set to the fields.
9. Select the Fields you want to export and click Next.
The following window appears: 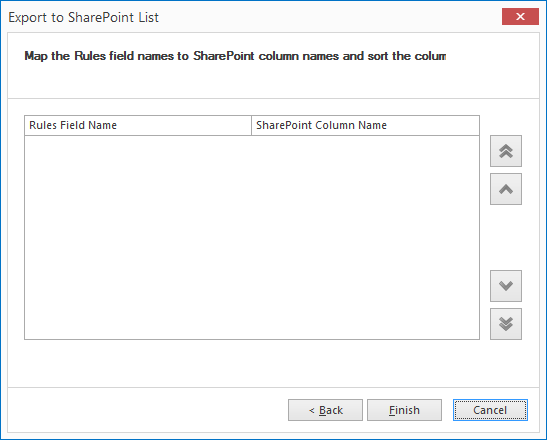
10. Under SharePoint column name you can change the field names to different column names in SharePoint.
11. Click Next. The SharePoint list will now be exported. When the export is completed, you will receive this notification:
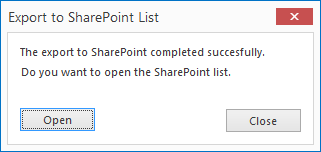
12. Click Open to open the list and view the SharePoint List or Close to close the screen.