A user group consists of a number of users who share the same rights for (a part of) a database: see
Creating a Group:
1. Log in as an Administrator (see Administrator Management).
2. Select Access Management from the Administration tab.
3. Select the Groups tab in the Access Management window:
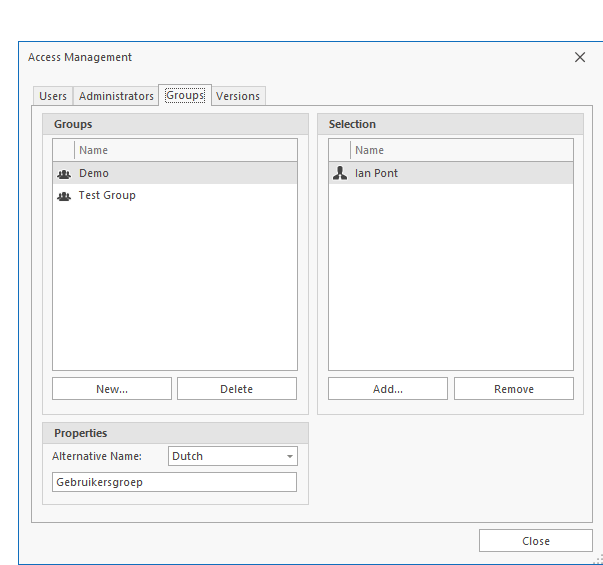
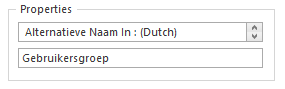
4. Click New in the Groups section to add a group and give the group a name. Optionally, you can give separate names for other languages (see Language).
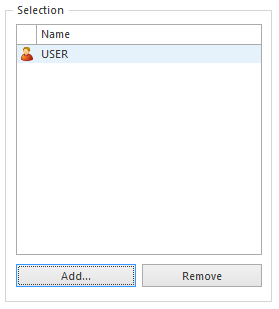
5. Click Add in the Selection area to add users to the group (you can select several users at once by using the SHIFT key or CTRL key. It is only possible to select existing users. If you need to create new User Codes, see User Management:
Adding Users to a Group
The following steps detail how to add a user to a group:
1. Select the group in which to add a user.
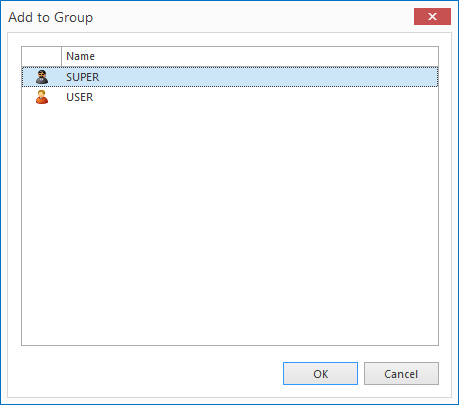
2. In the Selection area click the Add button. This will produce a list of available users to add to the group.
3. Highlight the user or users you want to add to the group and click Select.
Removing a User from a Group
To remove a User from a Group:
1. Select the Group in the Access Manager from which you want to remove a User.
2. In the Selection area, select the user or users that need to be removed from the Group.
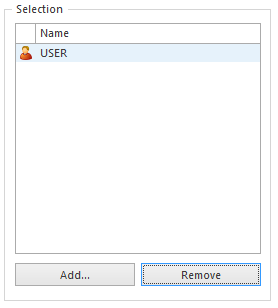
3. Click the Remove button.
Removing a Group
You can remove a Group as follows:
1. From the Access Manager, ensure that the Groups tab is selected.
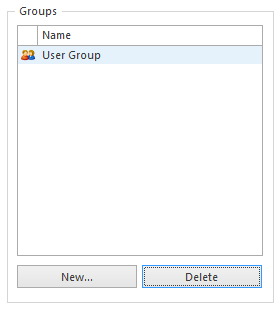
2. In the Groups section, highlight the Group you wish to remove.
3. Click the Delete button at the bottom of the Groups section
Note: Removing a Group will NOT delete the User Codes that resided in that Group.