If you want to adapt a stencil supplied by Mavim, you can create new stencils for the following chart type:
· Flowchart
· Hierarchical Chart
· Relationships Network Chart
· IDEF0 Chart
· Cross Function Flowchart
· EPC Chart
· BPMN 2.0
The steps below detail how you can create custom stencils for these chart types.
1. Select the Administration tab followed by New Visio Stencil and then the chart type for which you would like to modify the stencil. In this explanation the Flowchart is chosen.
Visio will start up and the Create Custom Stencil window appears: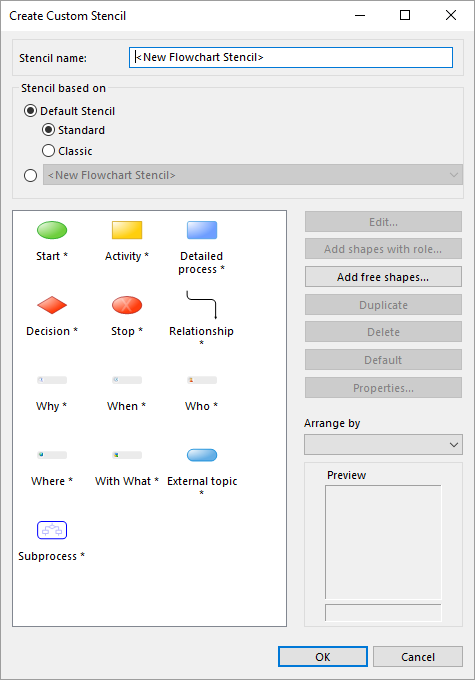
2. Give the new stencil a name at Stencil name.
3. Select whether you want to base your new custom stencil on the Classic or Standard stencil of the chart type you have selected, or whether you want to use a previous custom stencil of that chart type. The difference between the classic and standard stencils is explained under: Stencils.
4. Select a shape you wish to modify. Click one of the buttons on the right:
· Edit: The shape will be opened in Visio and you can modify the shape using the right-click menu. This is standard Visio functionality. For further explanation of these functionalities, see the Visio help documentation. Once you are finished, you can close the Edit Window within Visio.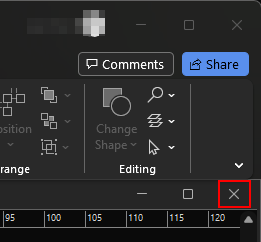
You will see a confirmation screen to save the changes made: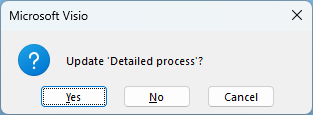
· Alternatives: You can navigate to a Visio stencil (*.vss) and open it to find a shape as an alternative to the shape you selected, e.g. when you have selected an activity, the shape you have selected on the other stencil will be added as a second activity.
· Delete: You can delete a non-default shape from the stencil. This button is only activated when you have selected a non-default shape. You can only have non-default shapes when you have added alternative shapes. You can recognise a default shape because it is marked with a *:
· Default: You can make a non-default shape the default shape by pressing this button.
· Properties: Here you can modify the shape properties. For more information, see: Shape properties.
5. You can arrange the shapes in three ways:
· Defaults first: Default shapes come before non-default shapes. The two groups are arranged alphabetically.
· Role Type: Shapes of the same Role Type are arranged together. Defaults are listed first. The rest are ordered alphabetically.
· Name: Shapes are arranged alphabetically.
6. If you have selected a shape, you can see it in the Preview box: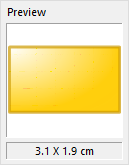
7. If you are finished creating the new stencil, you can click OK. Visio will be shut down, and the new stencil will be available to make charts. You can find the stencil in the Objects tree below Visio stencils: 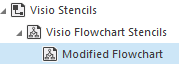
For more information about Objects, see: Objects.
It is also possible to add free shapes to your custom stencils. This can be done using the Add free shapes button:
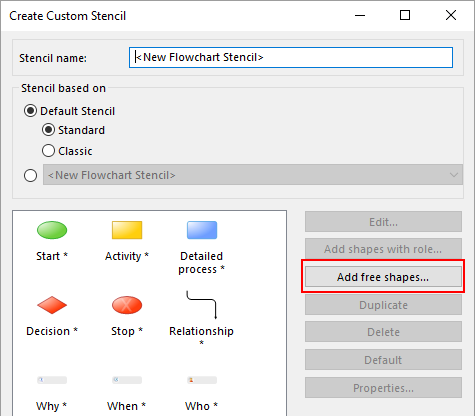
You will see an Open Stencil screen from which you can select a .vssx file that you have
prepared.